How to Deploy a Serverless GraphQL API Using AWS Lambda and Cloudflare R2
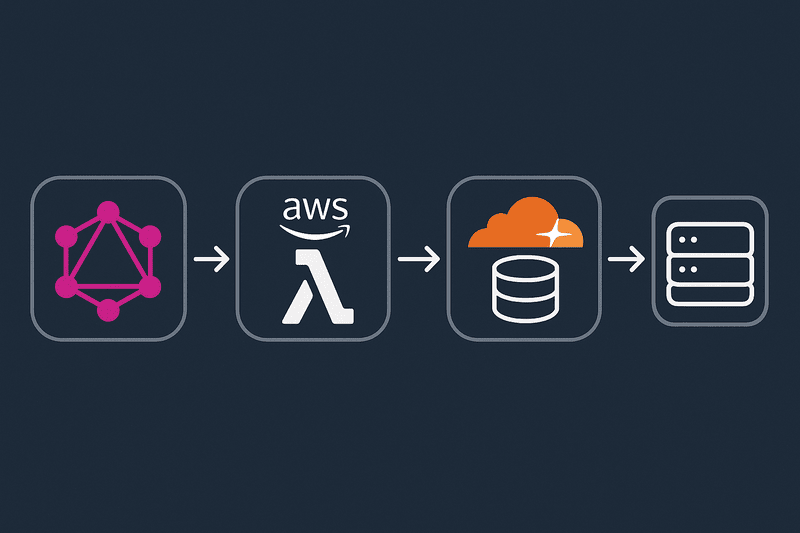
Serverless architectures continue to redefine how developers deploy scalable and cost-efficient APIs. In this guide, we’ll walk through building and deploying a serverless GraphQL API using AWS Lambda and Cloudflare R2 as the storage backend—a powerful combination for high-performance, low-latency applications.
This tutorial is ideal for developers who want to build a lightweight, modern backend without managing servers or containers.
What You’ll Need
- AWS Account (for Lambda, API Gateway, IAM)
- Cloudflare Account with R2 storage configured
- Node.js + npm installed locally
- AWS CLI configured
- Familiarity with GraphQL and basic API principles
Step 1: Set Up Cloudflare R2 Bucket
- Log into your Cloudflare dashboard.
- Navigate to R2 > Create Bucket
- Give it a name (e.g.,
graphql-assets) and note the Access Key ID and Secret Access Key. - Enable public access or set up bucket policies depending on your security model.
Step 2: Initialize the GraphQL API Project
Create a new Node.js project:
mkdir serverless-graphql-api && cd serverless-graphql-api
npm init -y
npm install graphql apollo-server-lambda aws-sdk dotenv
Project structure:
/serverless-graphql-api
├── src/
│   └── handler.js
├── .env
└── package.json
Step 3: Define Your GraphQL Schema
Create src/schema.js:
const { gql } = require('apollo-server-lambda');

module.exports.typeDefs = gql`
  type File {
    key: String
    url: String
  }

  type Query {
    listFiles: [File]
  }
`;
Step 4: Implement Resolvers with Cloudflare R2 SDK
Create src/resolvers.js:
const AWS = require('aws-sdk');
require('dotenv').config();

const r2 = new AWS.S3({
  endpoint: process.env.R2_ENDPOINT,
  accessKeyId: process.env.R2_ACCESS_KEY,
  secretAccessKey: process.env.R2_SECRET_KEY,
  signatureVersion: 'v4',
});

const BUCKET = process.env.R2_BUCKET;

module.exports.resolvers = {
  Query: {
    listFiles: async () => {
      const result = await r2.listObjectsV2({ Bucket: BUCKET }).promise();
      return result.Contents.map(item => ({
        key: item.Key,
        url: `https://${BUCKET}.${process.env.R2_PUBLIC_DOMAIN}/${item.Key}`,
      }));
    },
  },
};
Step 5: Create Lambda Handler
Create src/handler.js:
const { ApolloServer } = require('apollo-server-lambda');
const { typeDefs } = require('./schema');
const { resolvers } = require('./resolvers');

const server = new ApolloServer({
  typeDefs,
  resolvers,
});

exports.graphqlHandler = server.createHandler();
Step 6: Add Environment Variables
Create a .env file:
R2_ENDPOINT=https://<r2-endpoint>.r2.cloudflarestorage.com
R2_ACCESS_KEY=your-access-key
R2_SECRET_KEY=your-secret-key
R2_BUCKET=graphql-assets
R2_PUBLIC_DOMAIN=your-r2-public-domain.com
Step 7: Deploy to AWS Lambda Using Serverless Framework
Install Serverless Framework:
npm install -g serverlessInitialize and configure your serverless.yml:
service: graphql-api
provider:
  name: aws
  runtime: nodejs18.x
  region: us-east-1
functions:
  graphql:
    handler: src/handler.graphqlHandler
    events:
      - http:
          path: graphql
          method: post
          cors: true
plugins:
  - serverless-dotenv-plugin
Deploy:
serverless deployStep 8: Test Your GraphQL API
Once deployed, you’ll receive an endpoint like:
https://your-api-id.execute-api.us-east-1.amazonaws.com/dev/graphqlUse tools like GraphQL Playground, Insomnia, or Postman to run the query:
query {
  listFiles {
    key
    url
  }
}
You should get a list of files hosted in your R2 bucket, served through AWS Lambda.
Pro Tips
- Use AWS IAM roles and Cloudflare bucket policies for tighter security.
- Add mutation resolvers to upload files to R2 from the API.
- Enable API Gateway caching for frequent queries.
- Use monitoring tools like AWS CloudWatch and Apollo Studio.
Conclusion
Deploying a serverless GraphQL API using AWS Lambda and Cloudflare R2 combines the best of flexible compute and cost-effective storage. This architecture is ideal for developers who want scalable APIs for media management, data access, or headless CMS use cases—without managing infrastructure.
Stay tuned with Hitech Trends for more advanced how-to guides and real-world implementation strategies!

